Setup
Before you can use WhatsApp, you need to complete a few preparatory steps.
1. Install WhatsApp
First, open the App Installer or Google Play Store to find the WhatsApp application. Download WhatsApp and install the app.
2. Open WhatsApp
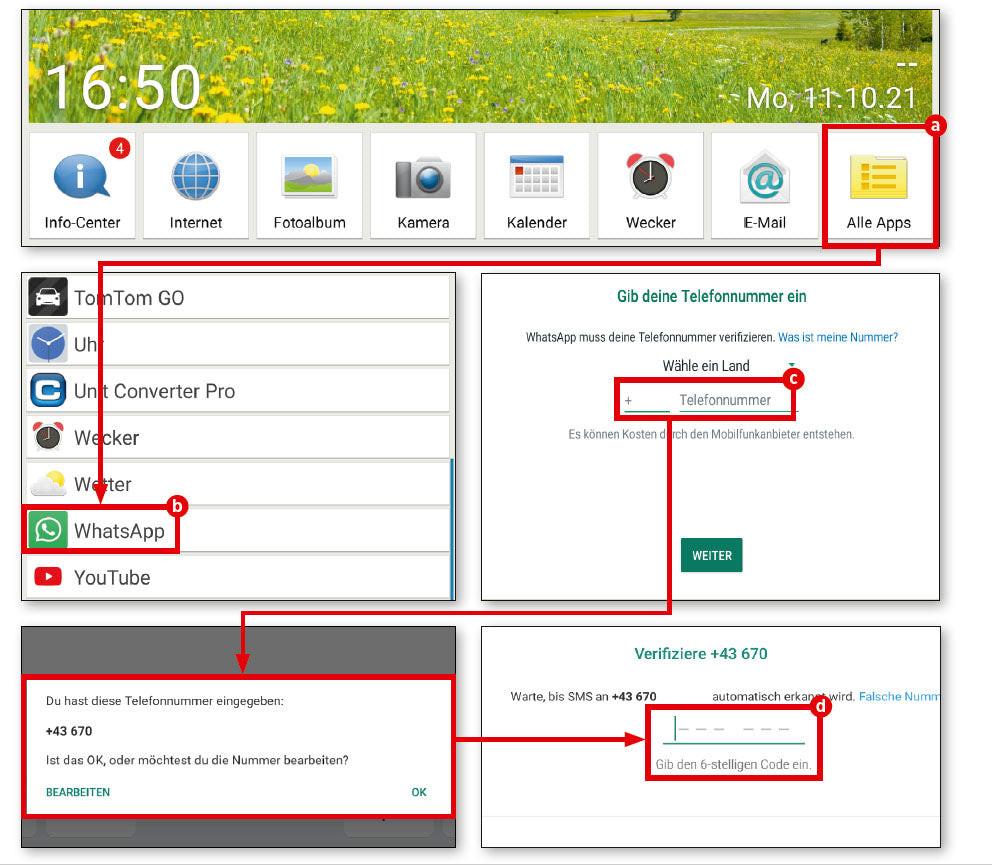
First, tap on ‘all apps’ (a), scroll down and then select ‘WhatsApp’ (b).
3. Enter your phone number
Even though WhatsApp works independently of your SIM card via Wi-Fi, the service is connected to an existing mobile phone number, which you must enter when you first start the app (c).
4. Enter verification code
Enter this in the field provided and check the subsequent verification query to make sure you haven't made a typing error. Then wait for an SMS with a code, which you must enter in the text field that now appears (d). WhatsApp is then ready to use.
The first chat
Once WhatsApp is set up, you're ready to go. Just start a chat with someone of your choice.
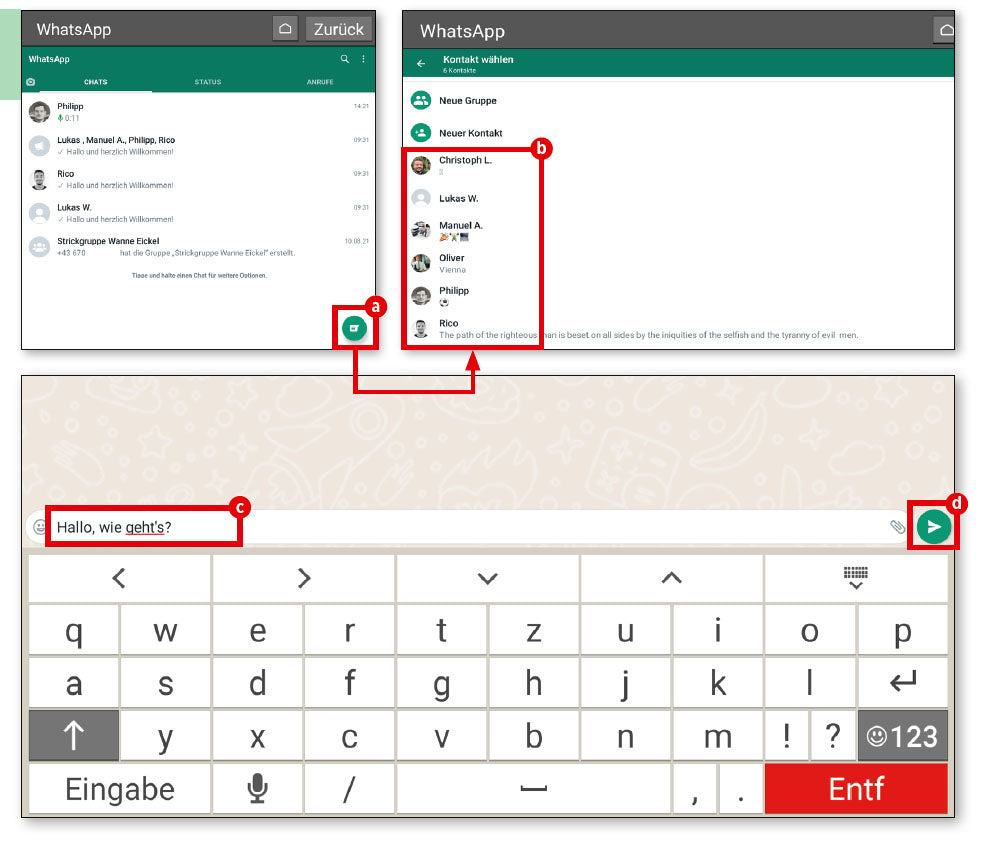
1. Contact list
WhatsApp accesses the internal contact list of your mobile device. If you haven't already done so, you'll need to complete this first.
2. Possible contacts
WhatsApp uses your personal phone register to check which of your contacts are also using this service. In the empty chat window, tap the green button in the bottom right-hand corner (a). Your saved contacts will now appear (b). Select the person you want to chat with.
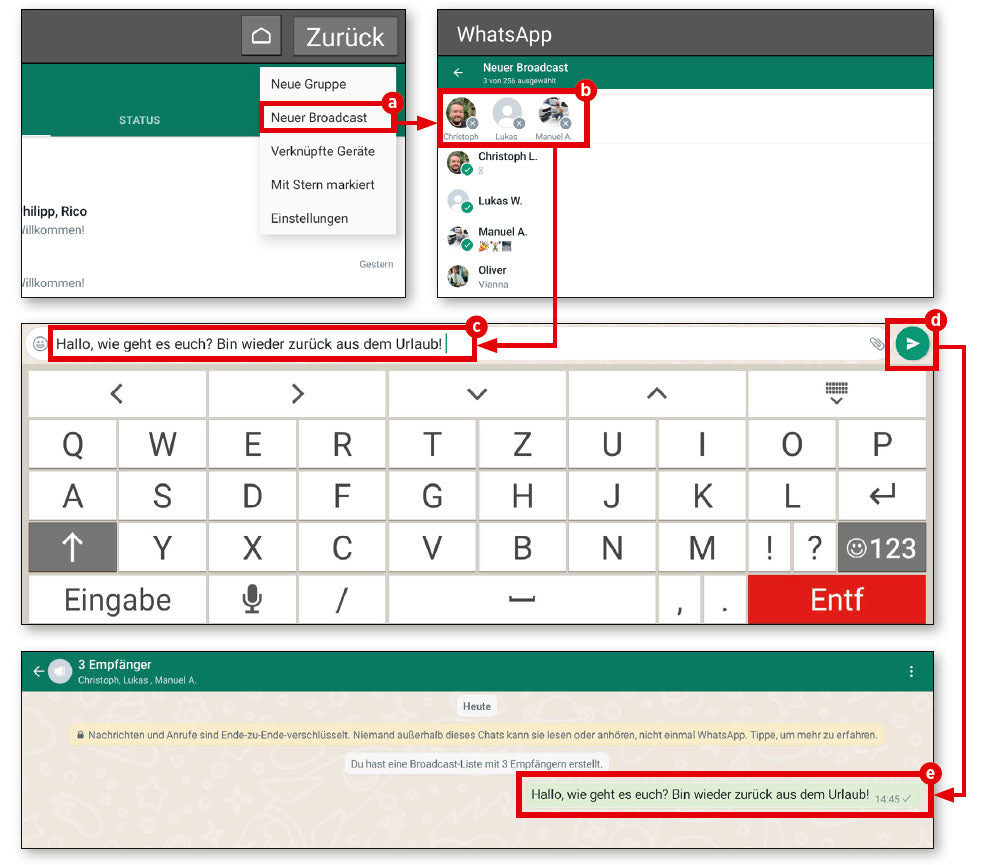
3. Start writing
The rest is very simple. Type your message in the input field (c) and send it by tapping the send button (d).